


How to Install cPanel on a New Server from GlobeTier
Learn how to install cPanel on your new GlobeTier server with this step-by-step guide. Includes prerequisites, SSH commands, WHM setup, and screenshots.
Managing your hosting environment becomes much easier with cPanel, one of the most widely used control panels in the world. If you’ve just purchased a new server from GlobeTier, this guide will walk you through the full process of installing cPanel and getting your server ready for production.
Prerequisites Before Installation
Before installing cPanel, make sure your GlobeTier server meets these requirements:
-
Operating System: AlmaLinux, CentOS, Rocky Linux, or CloudLinux (64-bit).
-
Clean Server: A fresh installation without any previous configurations.
-
Root Access: Full SSH access to your server.
-
Minimum Resources:
-
1.1 GHz CPU (multi-core recommended)
-
2 GB RAM (4 GB or more is better for production)
-
20 GB Disk Space (SSD preferred)
-
-
Valid cPanel License: You can purchase one directly from GlobeTier or connect your IP for automatic licensing.
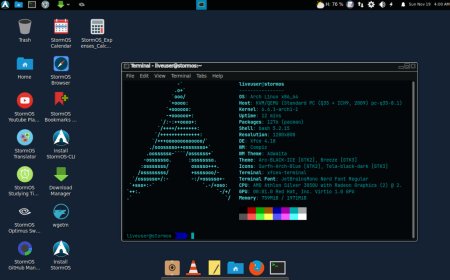
Step 1: Connect to Your Server via SSH
First, log in to your server as the root user:
ssh root@your-server-ipStep 2: Update Your System
Run the following commands to make sure your server packages are up to date:
yum update -yStep 3: Disable Network Manager
cPanel requires that Network Manager is disabled.
systemctl stop NetworkManager
systemctl disable NetworkManager
Step 4: Download and Run the cPanel Installer
Navigate to your home directory and start the installation script:
cd /home
curl -o latest -L https://securedownloads.cpanel.net/latest
sh latest
This process may take 30 to 60 minutes depending on your server resources.
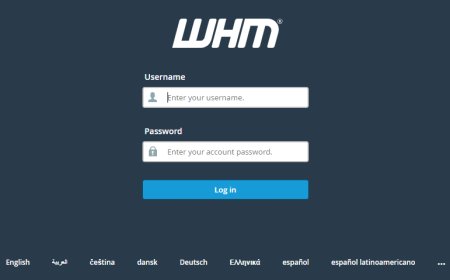
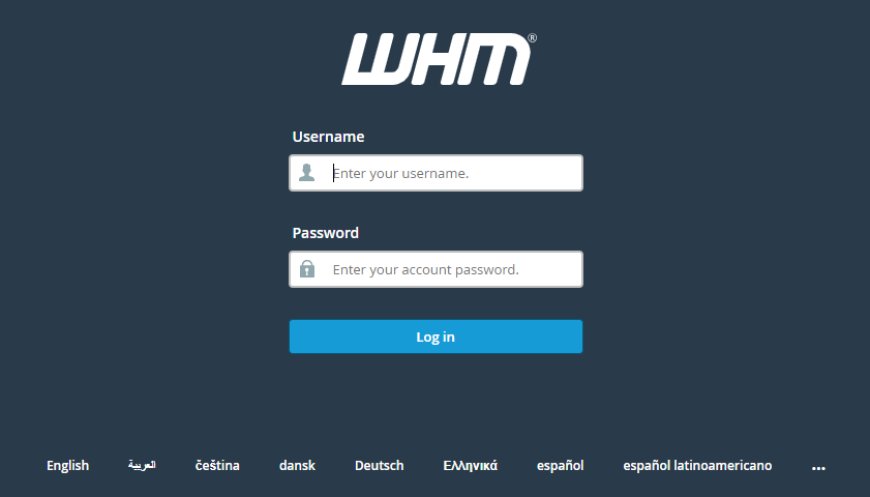
Step 5: Access the WHM Panel
Once installation is complete, you can access WHM (WebHost Manager) in your browser:
https://your-server-ip:2087Log in with:
-
Username: root
-
Password: Your root password
Step 6: Initial WHM Setup
Follow the setup wizard:
-
Agree to the license.
-
Enter your contact email and nameservers.
-
Configure your networking and hostname.
-
Save and complete the setup.
Step 7: Verify cPanel Installation
To confirm everything is working:
-
Log into WHM to manage accounts.
-
Access cPanel for individual accounts at:
https://your-server-ip:2083Conclusion
That’s it! You’ve successfully installed cPanel on your GlobeTier server. With WHM and cPanel ready, you can start creating accounts, hosting websites, and managing domains securely.
At GlobeTier, we provide optimized servers and support to ensure your cPanel hosting environment runs smoothly, whether you are managing personal projects or enterprise-level applications.
What's Your Reaction?
 Like
0
Like
0
 Dislike
0
Dislike
0
 Love
0
Love
0
 Funny
0
Funny
0
 Angry
0
Angry
0
 Sad
0
Sad
0
 Wow
0
Wow
0